How to Run an OSINT Investigation From Only an Email Address
An email feels like a dead end when it is all you have. No name, no phone, no photo, and a domain you do not recognize. But an email is one of the most reused identifiers a person owns. It follows them across signups, forums, breach dumps, marketplaces, and old accounts they forgot they made. That reuse is exactly what turns it into a starting point instead of a dead end.
This is a walkthrough of an email-only OSINT investigation. First the logic you would run by hand, then the same thing inside DefenceCore — one address in, an evidence trail out.
What a single email actually gives you
Before any tool, it helps to know what you are pulling from. An email splits into three layers, and each one is a separate line of inquiry.
The address itself. The part before the @ often carries a handle, a name fragment, initials, or a birth year. Find that same handle on X, GitHub, or a gaming forum and you have a thread to pull. This is the same enumeration logic behind finding who is behind a username.
The domain. A custom domain tells you one thing, a big free provider another, and a disposable or temp-mail domain tells you the person may not want to be found. Domain reputation, spam reports, and abuse listings are signals on their own.
Everything linked to it. Breach exposure, account existence on other platforms, Gravatar, and plain web mentions where the string sits indexed on the open web.
None of those are conclusions. A single hit is a lead. The work of an investigation is turning leads into something you would put your name to, and that means corroboration — the discipline at the center of resolving an identity graph.
Step one: drop in the email
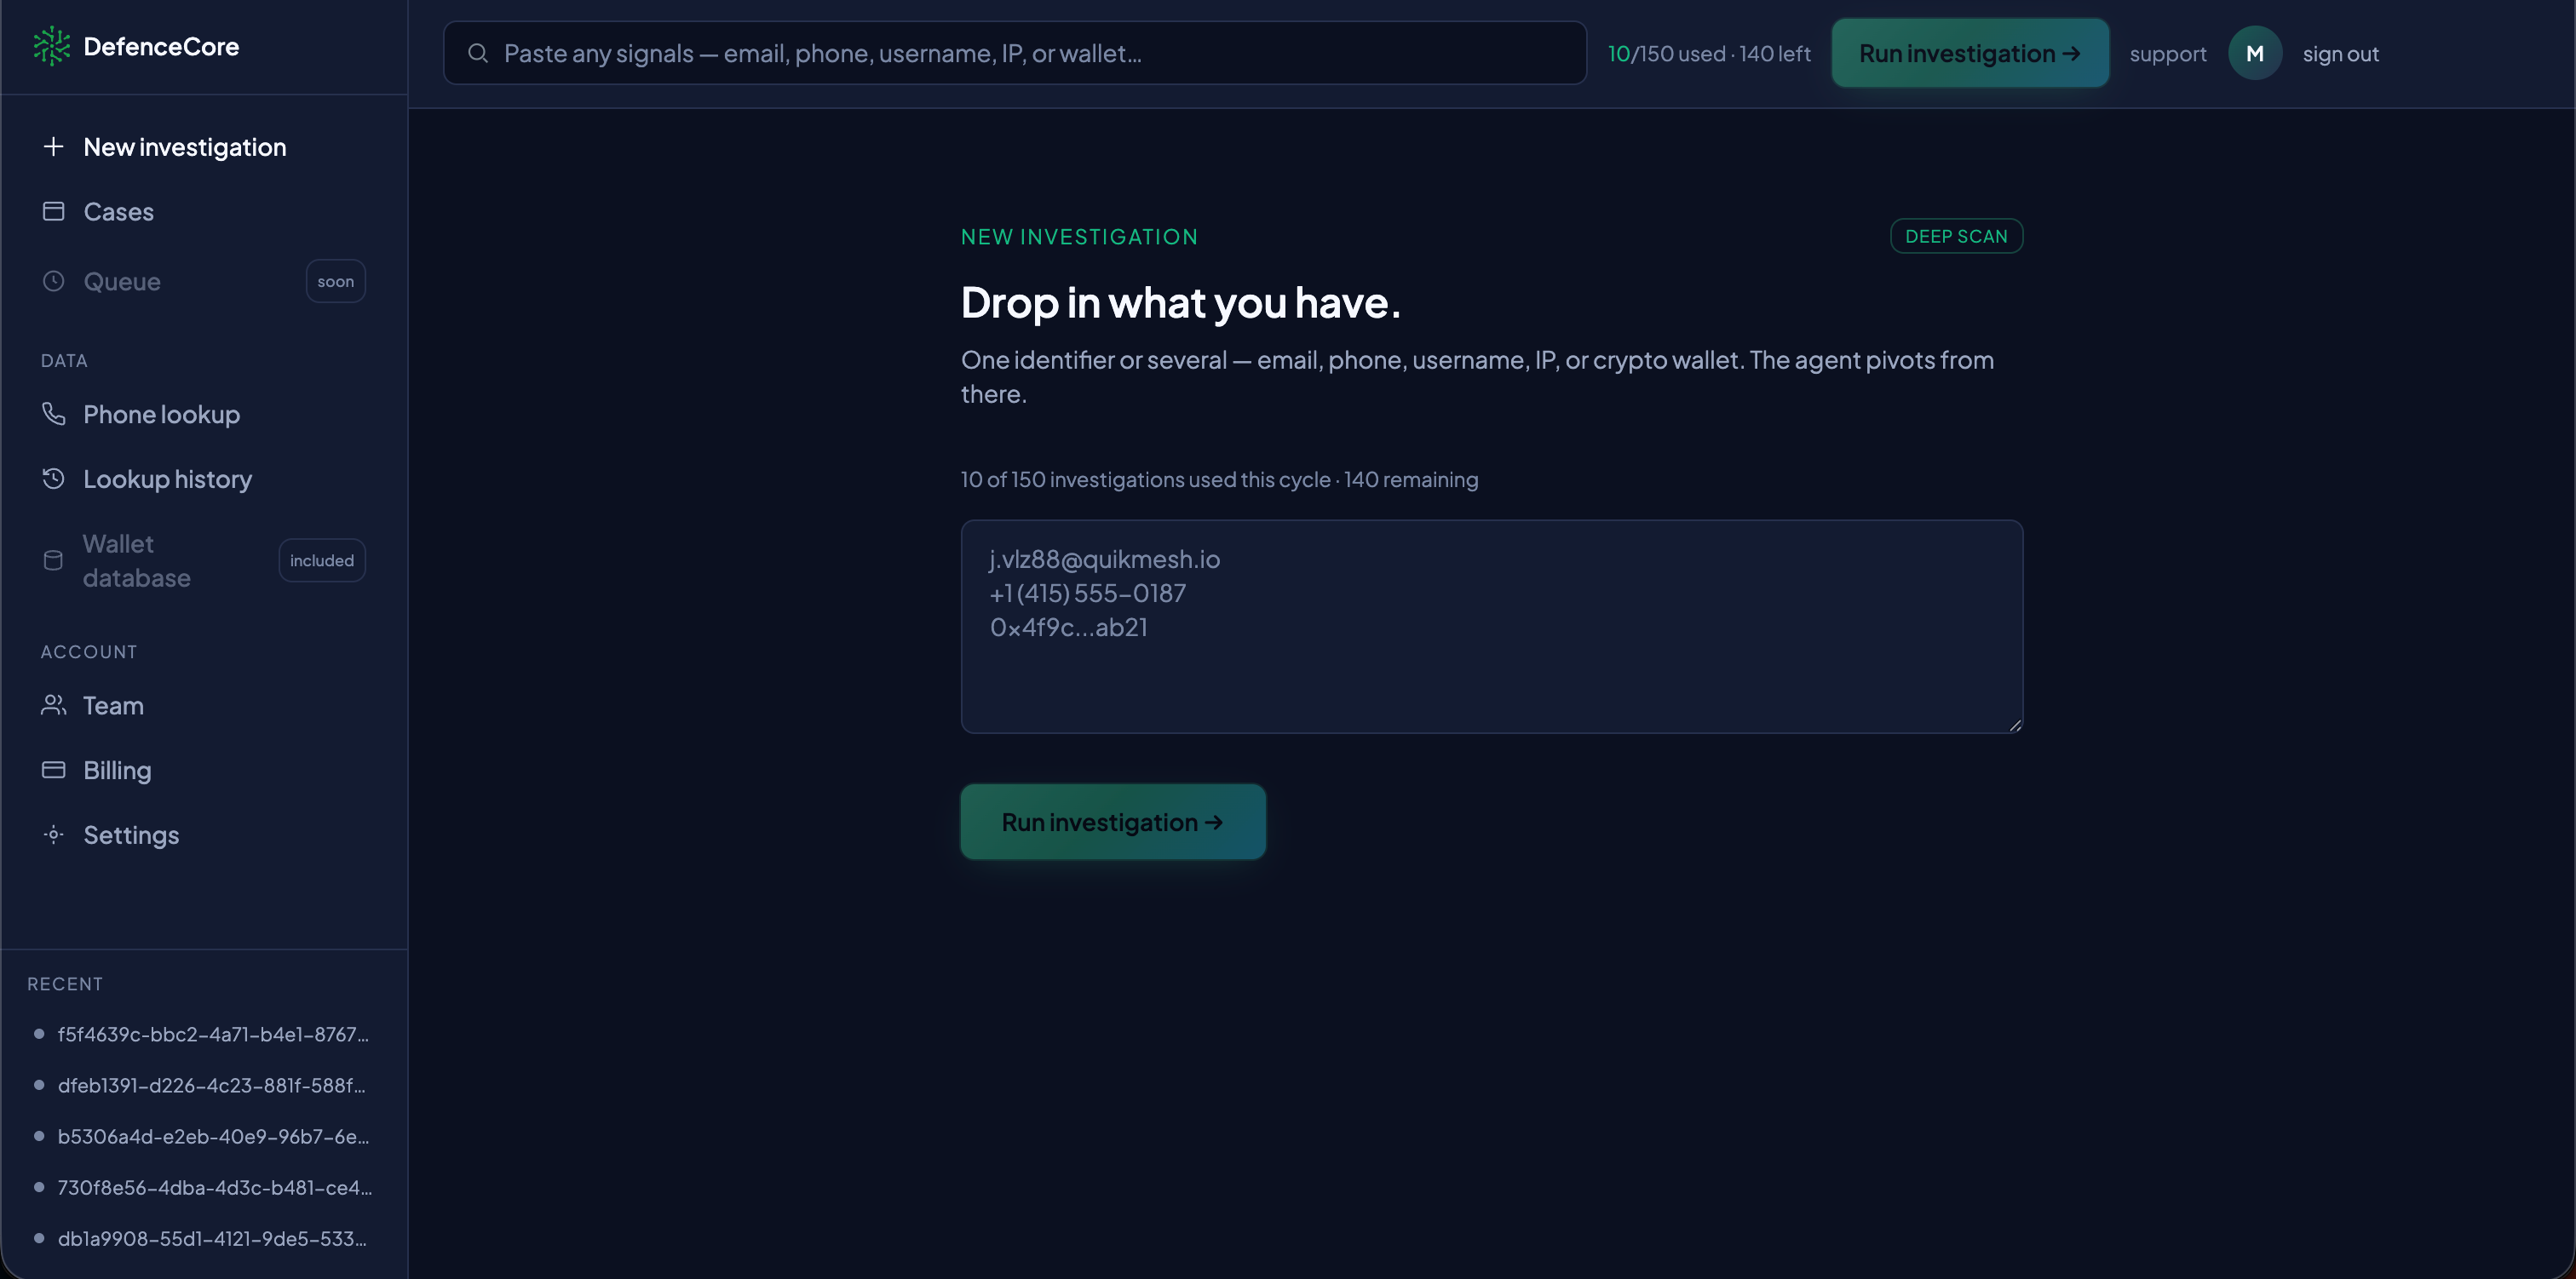 The investigation canvas takes an email, phone, username, IP, or wallet. For an email-only case you need one line.
The investigation canvas takes an email, phone, username, IP, or wallet. DefenceCore starts from whatever you have — you can paste several identifiers or just one. For an email-only case you paste the address and nothing else.
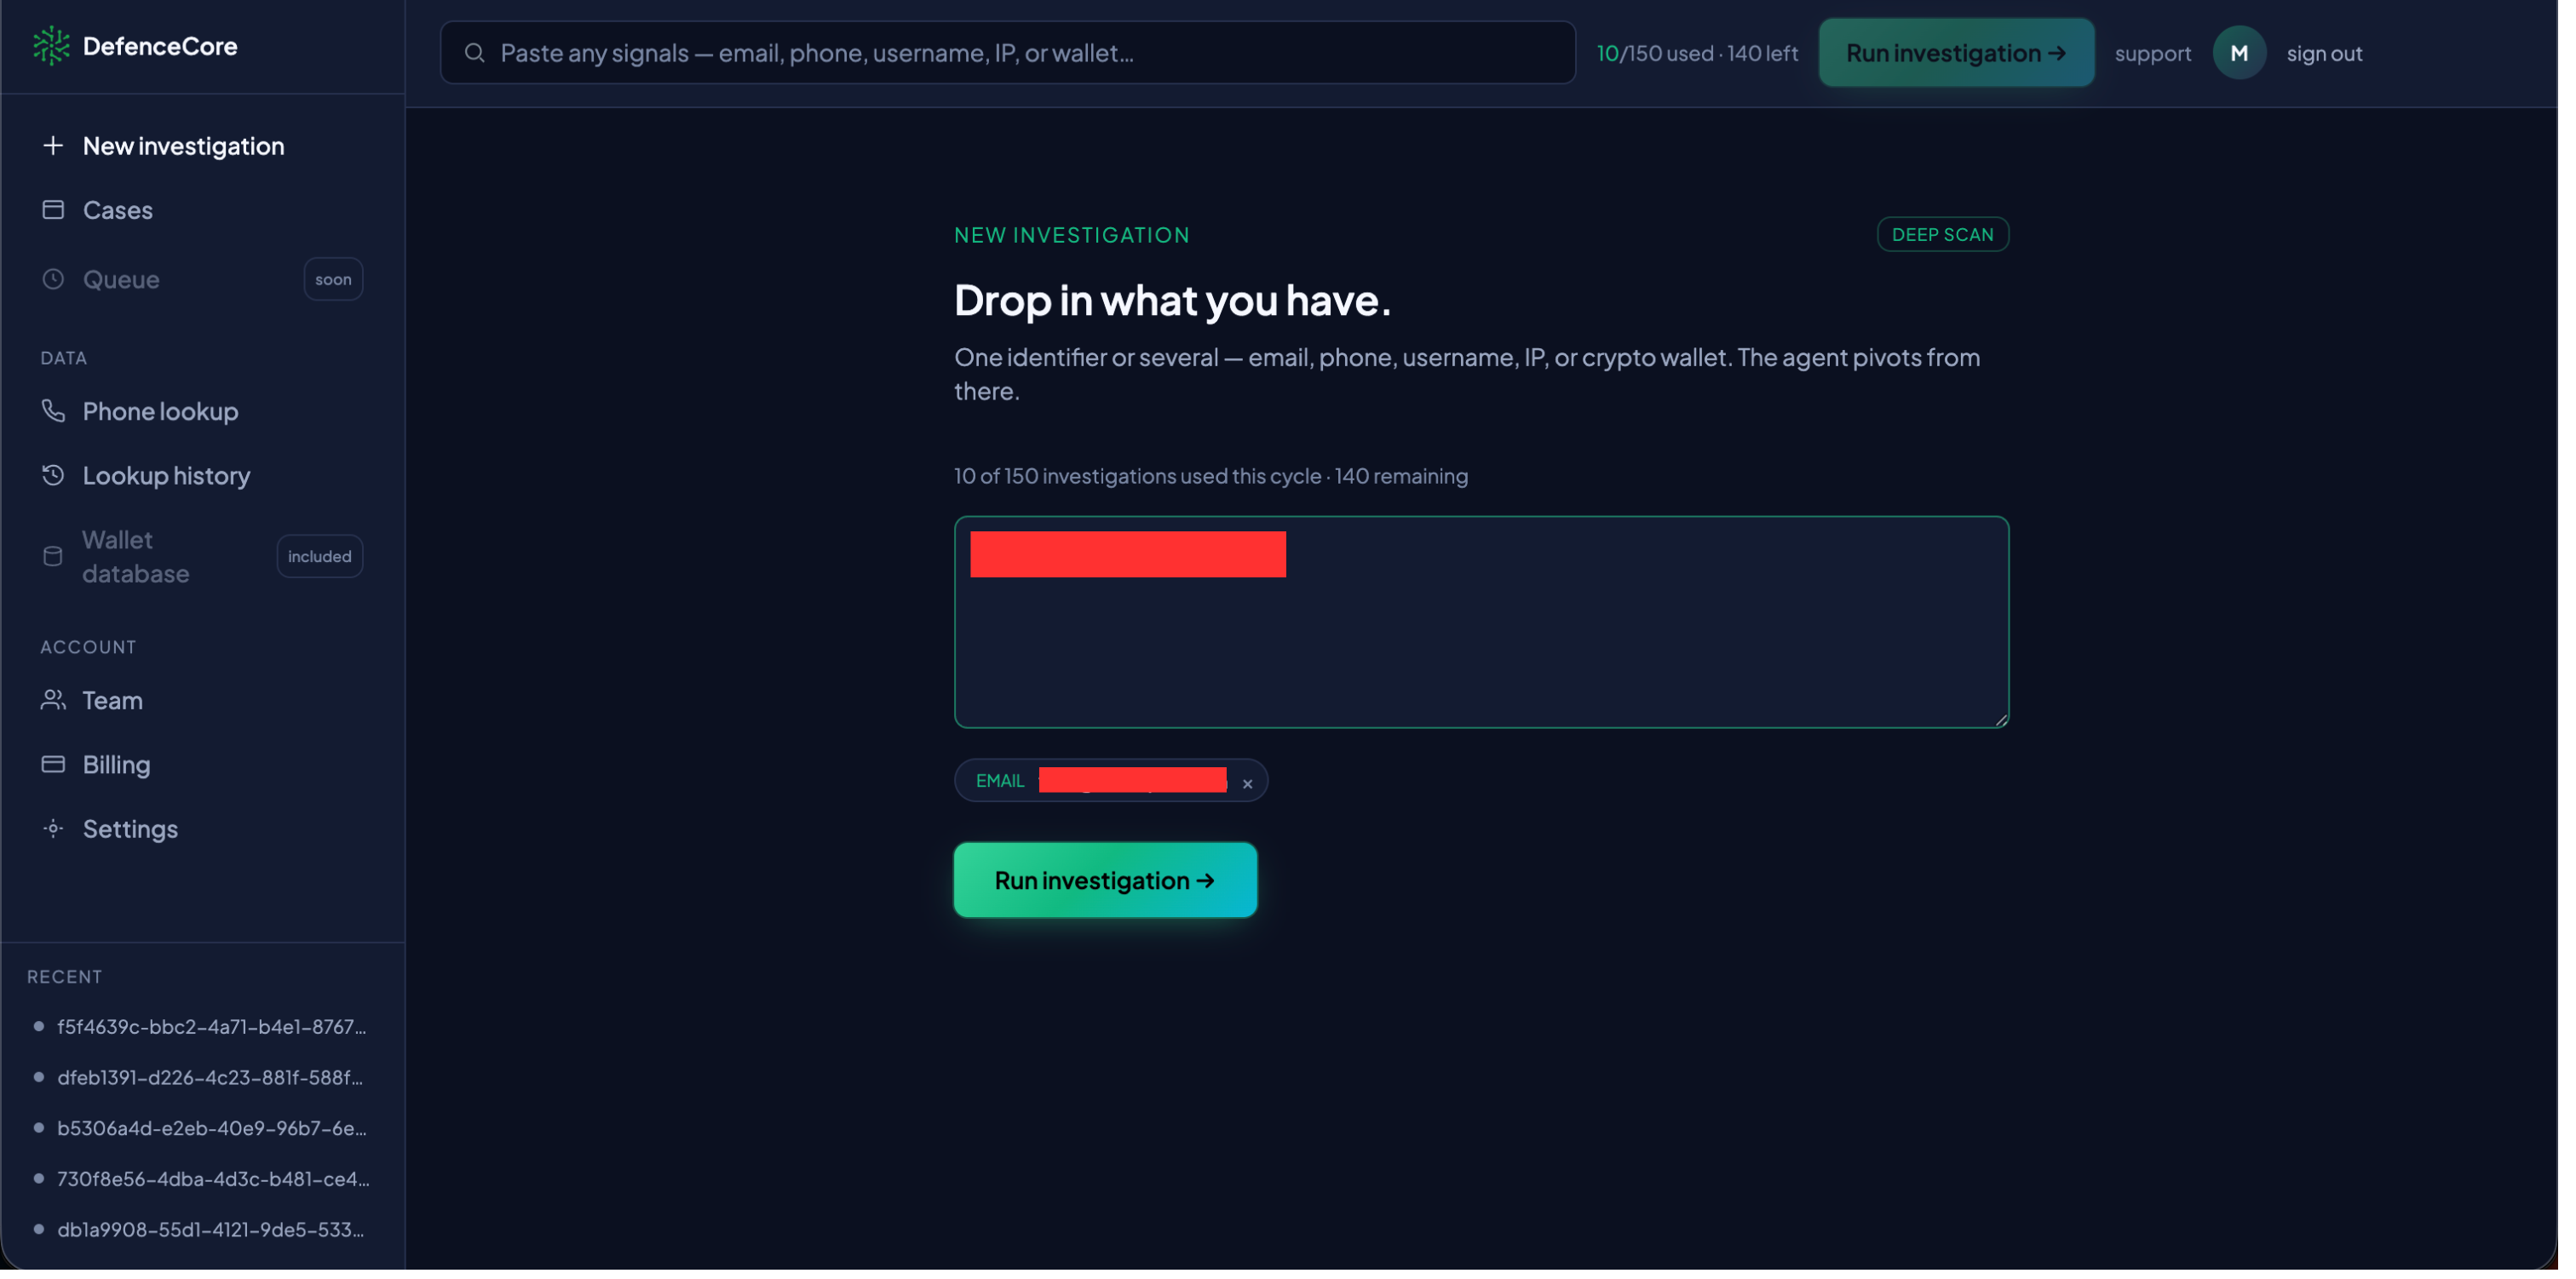 One email in. The agent tags it and gets ready to pivot.
One email in, the agent tags it and gets ready to pivot. When you hit run, it does the pivoting for you: it takes the email as the seed and works outward across its sources — the same layers you would check by hand, but in parallel. That is what makes it an autonomous investigation rather than a lookup.
Step two: read the case
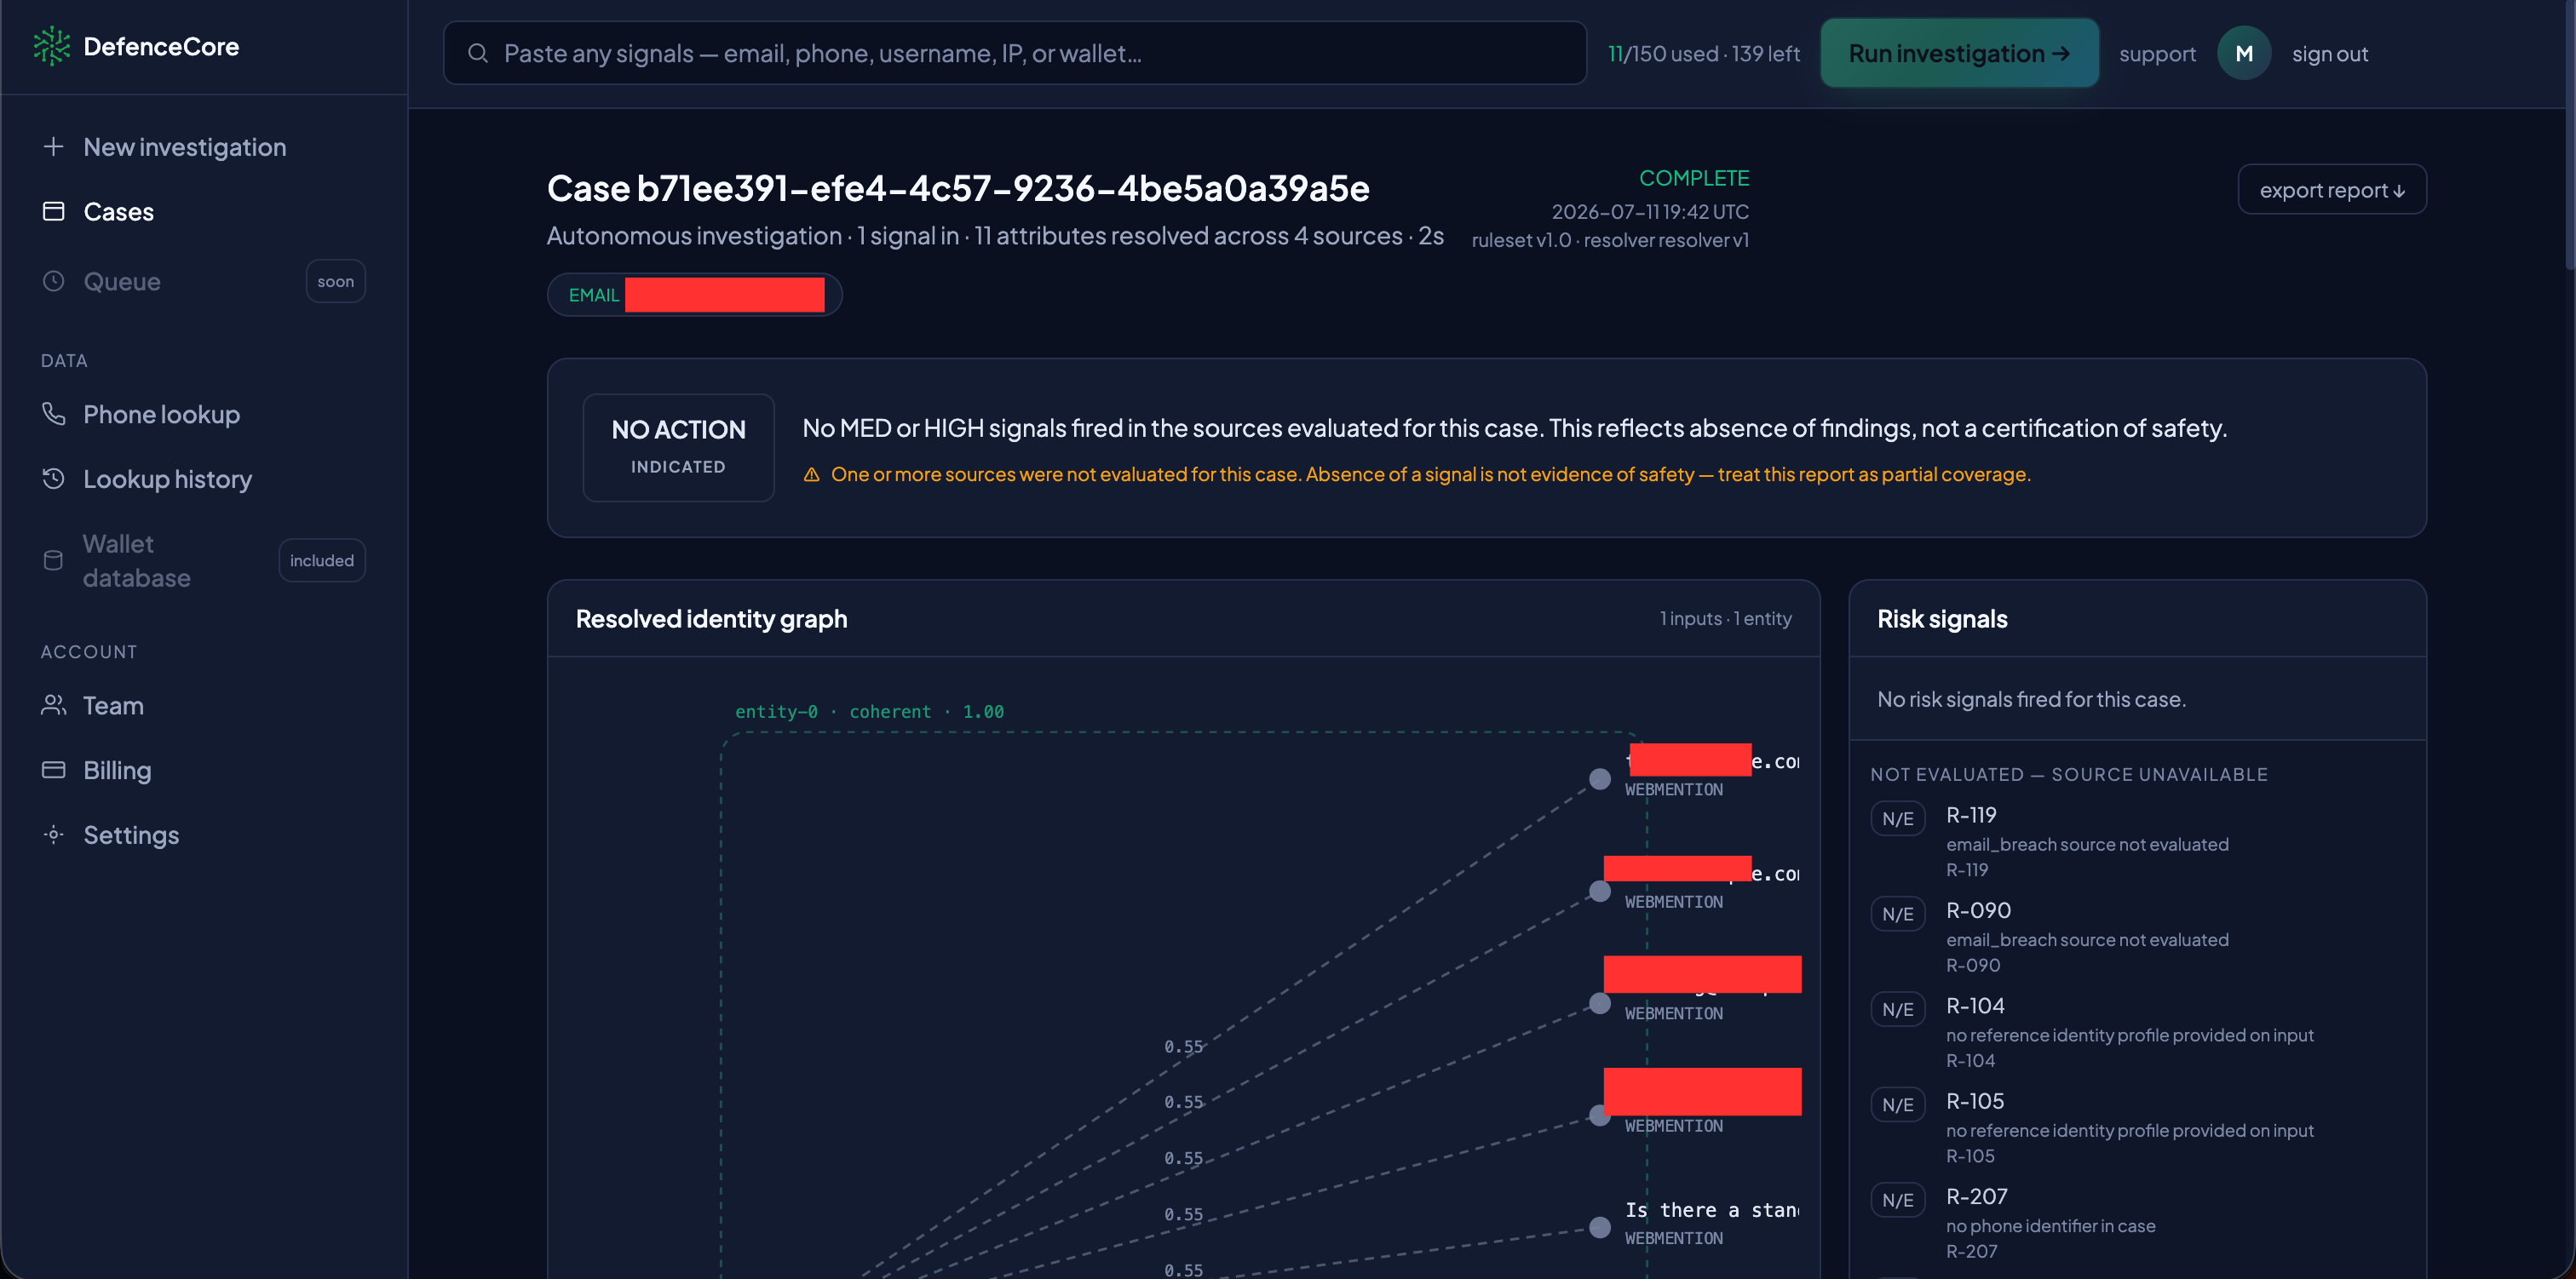 The completed case. One signal in, eleven attributes resolved across four sources, in two seconds.
The top of the report is the summary. In the walkthrough case, one signal went in and eleven attributes came back, resolved across four sources in about two seconds. The resolved identity graph on the left shows how those attributes connect back to a single coherent entity, with a confidence score on every link.
The part worth noticing is the box marked NO ACTION INDICATED. It reads: no medium or high signals fired in the sources evaluated for this case, and this reflects absence of findings, not a certification of safety. Below it, in amber, it warns that one or more sources were not evaluated, so the report is partial coverage.
That is deliberate. Plenty of tools hand you a green tick and a risk score and let you assume the person is clean. An empty result is not the same as a safe result. This report tells you exactly which sources it checked and which it could not, so you know the shape of what you are looking at.
On the right, the risk signals panel is honest in the same way. Nothing high-risk fired, and the entries marked N/E are sources that were not evaluated: an email breach source that was unavailable, and checks that needed a phone or a reference profile you did not provide. Those are not failures. They are the map of what a second identifier would unlock.
Step three: read the findings
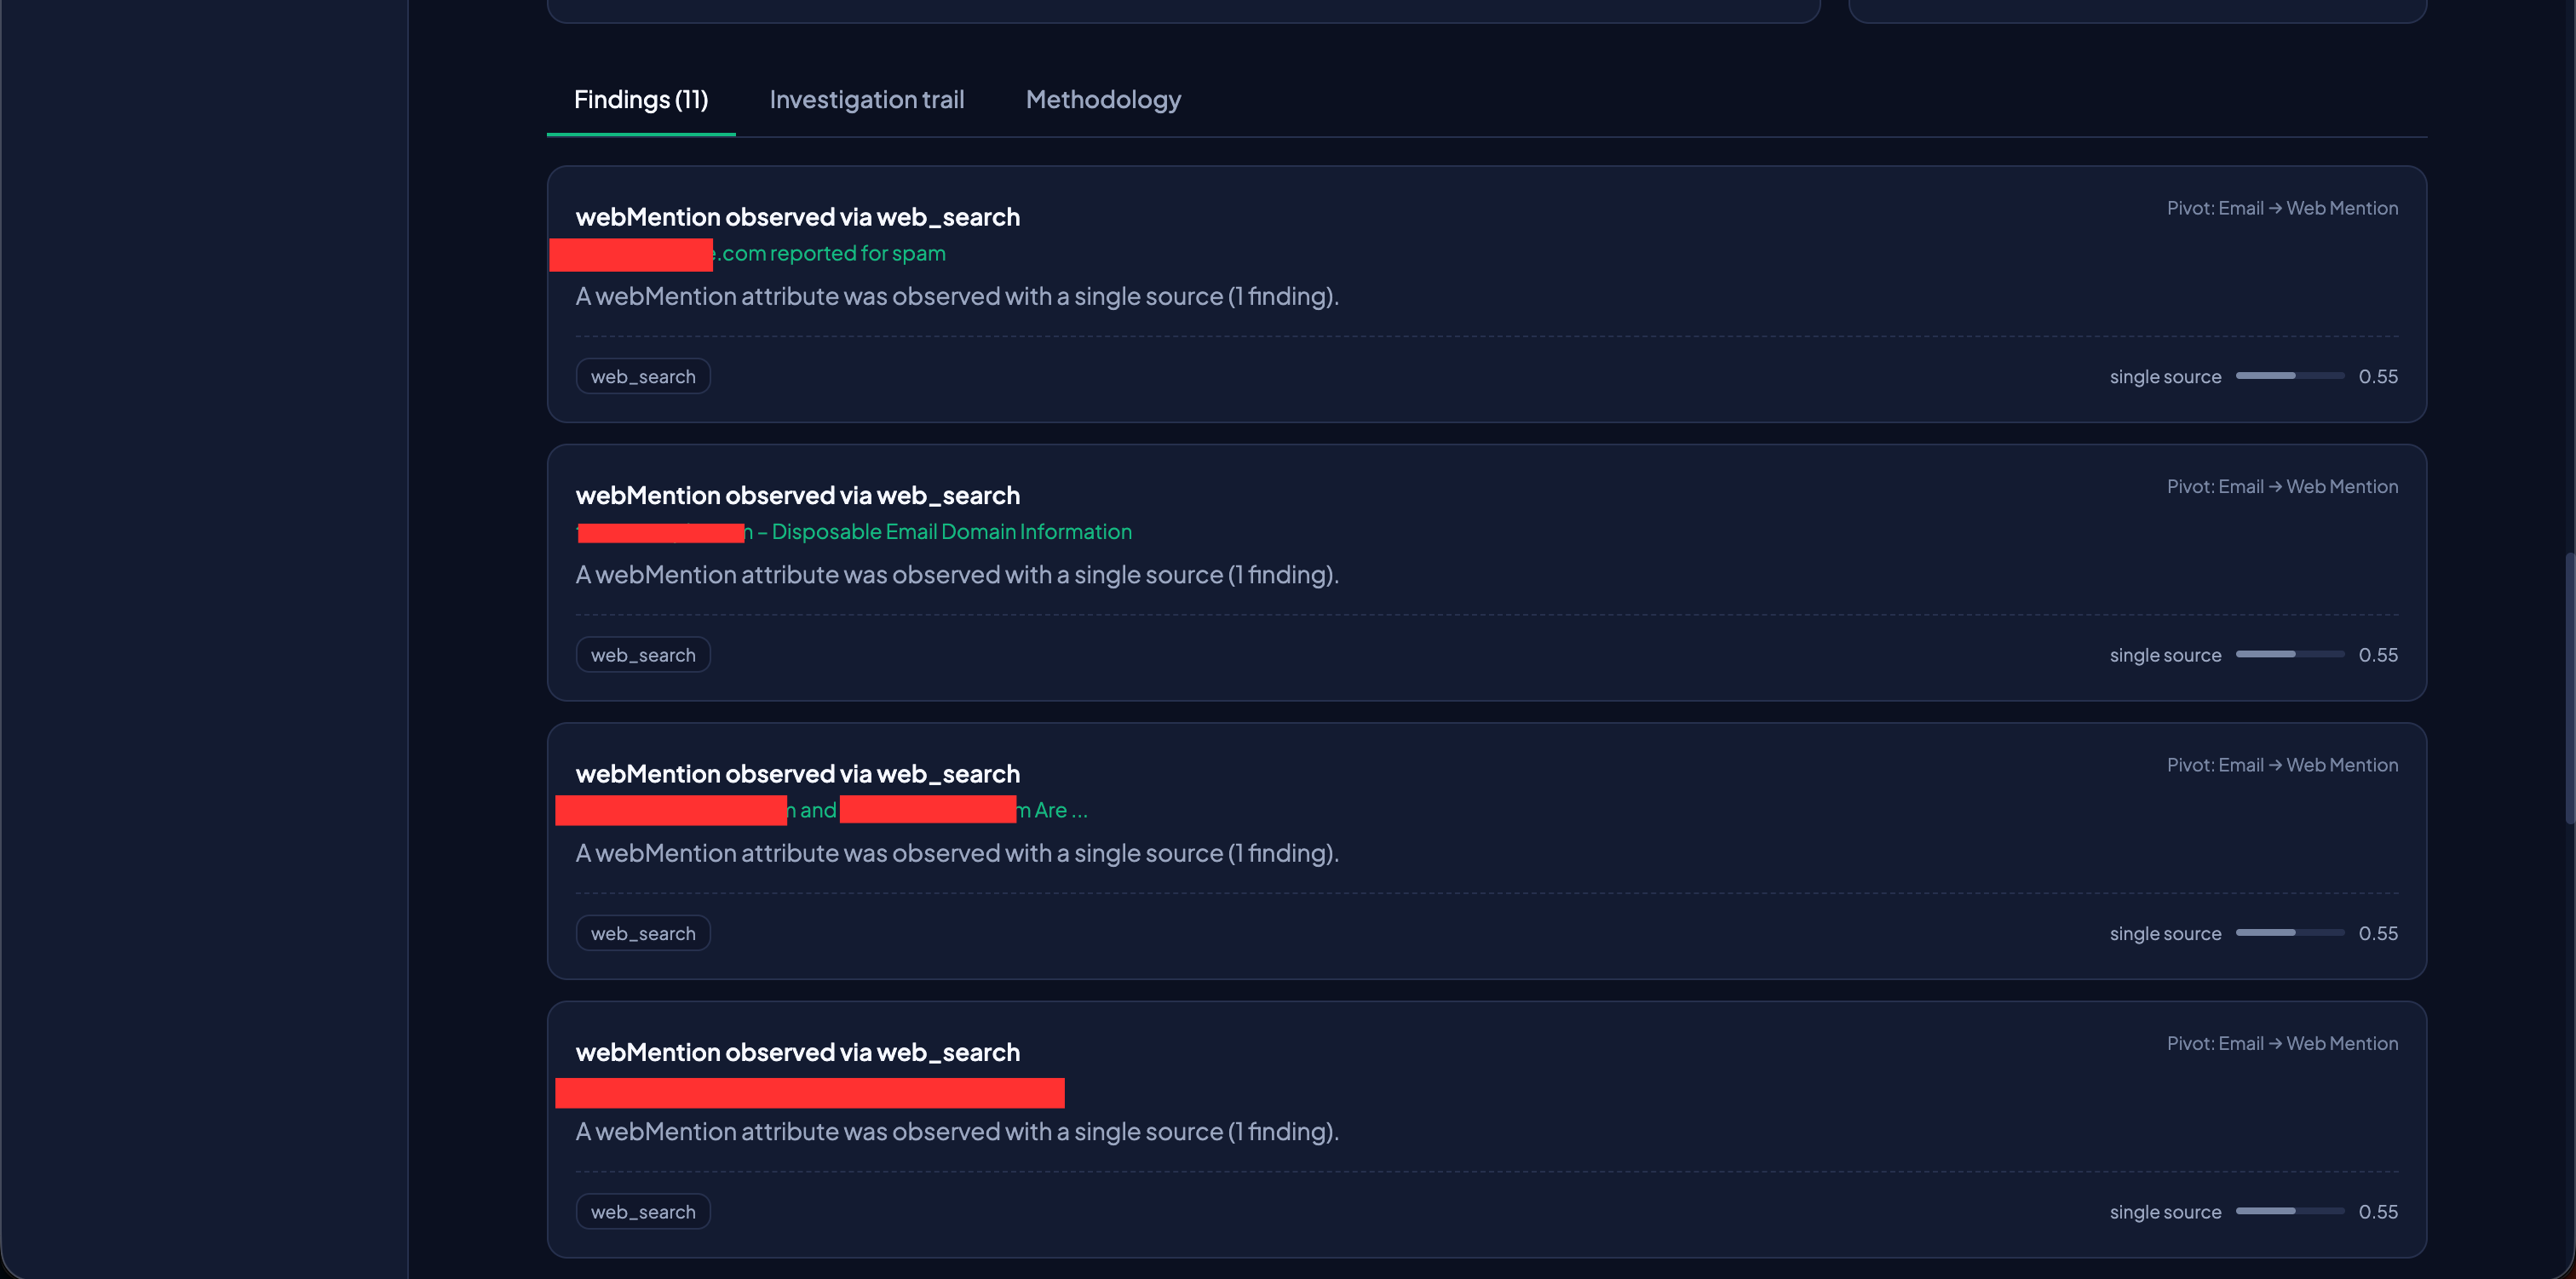 Eleven findings, each one a pivot from the email out to a web mention, each with its own source and confidence.
Every finding is a pivot, written out — Pivot: Email to Web Mention. The address turns up in a spam report here, on a disposable-email-domain listing there, next to other handles somewhere else. Each finding carries the source it came from and a confidence score.
In the walkthrough case, all eleven findings sit at single source, 0.55. That number is the point. A single-source web mention is a lead worth chasing, not a fact to attribute. DefenceCore will not tie an identity to a person off one uncorroborated hit — it wants two independent signals before it makes that call. The 0.55 is the platform telling you where a finding sits on the line between interesting and confirmed.
Even a thin result has useful shape. When the domain shows up on a disposable-email listing and in a spam report, that names nobody on its own, but it tells a fraud or trust and safety analyst something real about how this address is being used.
Try it on an address you already have
Pick an email from a case you are working, or a throwaway-looking one you have been handed, and run it. You get the identity graph, the findings with their sources and confidence, and an honest read on coverage, in a couple of seconds. Export it as JSON or PDF straight into your case file.
Start at DefenceCore.